Durban’s Guide to Refrigerator Regassing: Fast Fixes for Your Fridge
Is your milk losing its chill? Are you constantly finding lukewarm leftovers? A faulty refrigerator is more than just an inconvenience; it can lead to spoiled food and unnecessary costs. You worry about your family’s groceries. You need a solution. If your fridge is struggling to keep things cool, the problem might be simpler than you think. It could need a regas.What is Refrigerator Regassing?
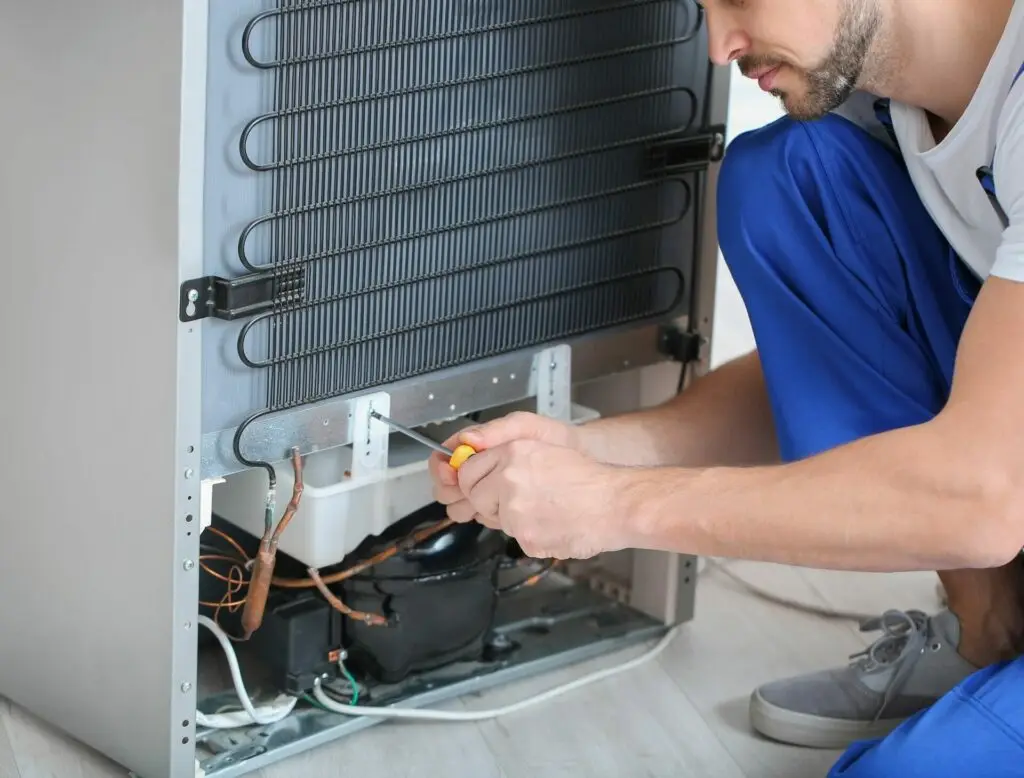
Your fridge has a sealed system that relies on a special gas called refrigerant to create cold air. The gas circulates, absorbs heat from inside the fridge, and releases it outside. When this gas leaks, your fridge stops cooling properly. Regassing is the process of a professional finding and fixing the leak and then refilling the system with new refrigerant.Signs You Need a Regas
How can you tell if your fridge is losing refrigerant? Look for these clear warning signs:- Your food isn’t cold enough. This is the most obvious sign.
- The freezer is icing up more than usual. This happens when the system struggles to maintain temperature.
- You hear hissing or gurgling sounds. These noises often signal a refrigerant leak.
- Your electricity bill suddenly spikes. A fridge working overtime to stay cool will use more energy.
The Regassing Process Our Professional Steps
We make the process simple and efficient for you. Here’s what to expect from our Durban-based team:- Inspection and Diagnosis: We thoroughly inspect your fridge to find the exact source of the leak.
- Professional Repair: We fix the leak permanently before adding any new gas. This prevents the problem from recurring.
- Refill and Test: We vacuum the system, then carefully add the correct amount of refrigerant. Finally, we test the fridge to make sure it’s cooling perfectly.
Fridge regas help in Durban
Kitchen Chronicles
Keep your fridge running efficiently—schedule a professional regassing service today and extend its lifespan.